The Ultimate Beginner's
Guide to Deus Ex Mapping
DeX@planetdeusex.com
What's the point? We already have three beginner's tutorials. But I think don't explain the basic concepts that a beginner needs to understand. Sure they get the job done but don't really leave a beginner ready to fend for themselves. This will be one hefty read so maybe you want to print it. Or not. Anyway, the only thing you need to know before reading this is the names of the buttons in the amazing Deus Ex SDK.
Important Concepts
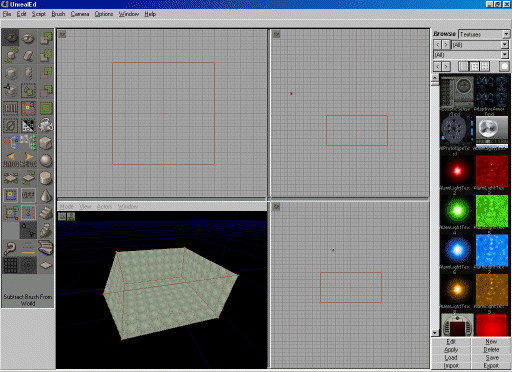
Load UnrealEd (It's called that because Deus Ex uses the Unreal engine). After a while of loading you'll get 4 views: 3 grey and 1 black. The top left is the Overhead view, the top right is the XZ view, the bottom right is the YZ view and the bottom left is the all important 3D view.
In the 3D view you should see a blue grid stretching off into the vast empty void, yes? Wrong. What you're seeing is a vast mass of solidity. This is an important concept to understand. When you create rooms you have to carve out or 'subtract' from the solid mass. Once you have created your room you might want to put in a table or control panel. To do this you would add solidity back into your room.
All the objects (players, bots, weapons, computer consoles and invisible things such as lights and triggers) in your level are called Actors. Another term you'll hear frequently is 'brush'. This refers to anything solid in a level which won't move (ok except for mover brushes). This could be a box, a pool, a room or a table or whatever. All brushes need to be either subtracted or added to your level.
Moving Around the Views
To move around the 2D views click with the left mouse button and drag to move up, down and sideways. Click and drag both mouse buttons to zoom in and out.
To move around in the 3D view click the left mouse button and move the mouse up to zoom in. Down to zoom out. Left/Right to rotate. Right click and move the mouse around to rotate the view up, down and sideways. Click and move both mouse buttons to move up and down, and to pan left and right.
It'll take a little time to get used to. To practice you can load up a Deus Ex level (a little more on that later but you can figure it out) and move around the map to places you recognise and explore.
To change the speed of movement use the camera speed button.
Building Your First Level
Right click on the cube buttonand click Cube Properties. Make the height 512 and the width and the breadth both 1024. Then click Build. You'll see a red cube appear in the 3D view and a red square in the 2D view. You have just created a builder brush. This is not your actual room. This is essentially your chisel. To make different shaped rooms you need to select a different sized blade. You will use the builder brush to carve a room from your map. To carve solidity from your level click the Subtract button
. You'll now see a green cube thing in the 3D view and the 2D views won't have changed much.
This green cube is your new level. It's not looking very nice is it? Then onwards.
Getting the Painters in
I bet you're dying to know what that bar on the right hand side of the editor is. Well this is the Browser. At the moment you will be able to browse textures. This is shown by a little drop down list at the top of the browser. If this does not say textures then change it.
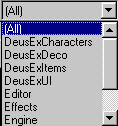
Bellow these drop down lists you'll see a whole load of textures. To browse different textures use the other two drop down lists. Click the second dropdown list to find a list of texture packages. If you select one of these packages you'll find the textures that appear aren't very interesting.
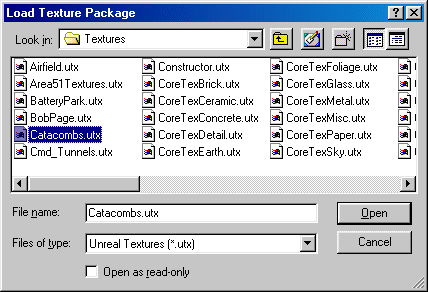
Click the load button at the bottom of the browser.
And this dialog will appear:
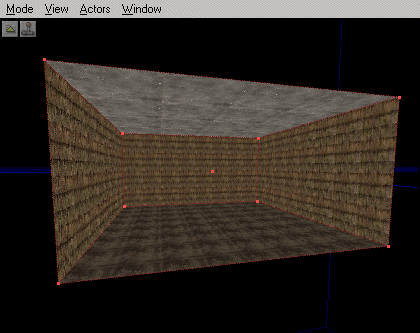
Here is a list of available texture packages (.utx extension). I selected the catacombs texture package. Click Open to load your package. Now you'll see all the textures in the catacombs package. Scroll down all these textures and find appropriate textures for your level. To apply the texture to a surface you must click on the surface in your 3D view. This will make it have a blue select type surface. Then click on the texture you want in the texture browser to apply the texture.
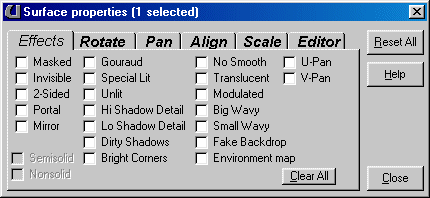
That's better. You can change many properties of the texture such as making it transparent (not a good idea for walls) by right clicking on the texture and click Surface Properties. Click on the different tabs to get different options.
Hit the Lights
Now if you played your level you would not see anything. This is because you haven't put any lights in. To see what the level would look like if it were played you need to rebuild your level. Press F8.
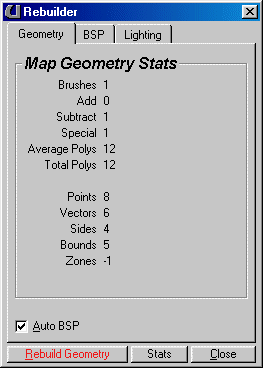
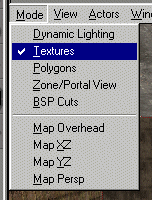
This is the rebuilder. The only thing you need to worry about for now is the Rebuild Geometry button. What rebuilding does is immensely complicated. It basically renders all the lights and processes all the level data into a playable form. Before playing your level you must ALWAYS rebuild. So click rebuild now. Now don't panic. That's normal. Your new room will have disappeared from the 3D view. This is because the lights have all been rendered and the room is pitch black. On the menu in the 3D view click Mode --> Textures.
If you can't see a menu in the 3D view click the small green arrow in the top left hand corner.
Your room will now display regardless of lighting.
To add a light right click in any of the views and select Add Light here. To move the light (or any other object), click and drag the object while holding Ctrl. Because you are viewing in texture mode your light won't have made any change. Rebuild your level and level change the view mode to Dynamic lighting. You'll see something like this.

If you want to know more about lights, look at our More Advanced Lighting tutorial.
Running Your Level
Wow, you can feel proud of your self now. You probably want to know what it looks like in the game its self huh? Well there are two steps we have to go through before running the level.
In the browser change the first drop down list to Classes.
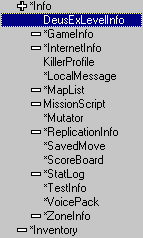
You should see a massive list of things with minus signs by them. This is the Classes Browser. You find all objects here for you to place in your map. Expand Info and select DeusExLevelInfo. To add this to your map right click somewhere on the floor in your room in the 3D view and select Add DeusExLevelInfo here. Deus Ex Level Infos are very important, and you must have one in every map.
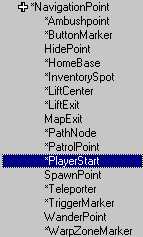
Collapse Info (click on the plus sign) and expand NavigationPoint. Select PlayerStart and add it to your map.
Rebuild your level and from the menu select File --> Play. You'll be launched into your level. Congratulations!
What, we're not done yet?
So maybe you know enough to create amazing levels already. But I'm sure most of you don't.
Lets add a basic light fixture. Create a cube 32*64*64 (height, width, breadth). You'll see that the builder brush will have shrunk. Also it will be in the centre of the room. Use either 2D view on the right, select the brush by clicking on it's edges. Then hold Ctrl and drag the brush to the ceiling. Now click Add
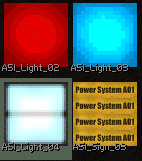
. A cube will appear in your level, and all the sides will have the texture that you currently have selected. Change them to a stone texture from the Catacombs package. Load the Area51 texture package. Select the A51_Light_04.
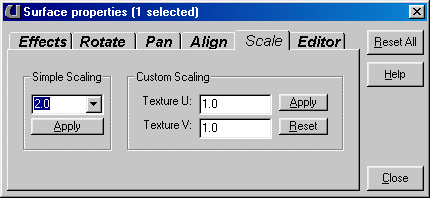
Apply this texture to the bottom surface of the light fixture. You'll notice that the texture is a little small. Right click on it and select surface properties. Click on the Scale tab. Set the Simple Scaling to 2.0.
Now you can place the light under the light fixture. Then rebuild your level. You'll notice that the light texture in the 3D view will have gone dim (make sure you are in dynamic lighting mode). To fix this we must change the properties. Right click and select surface properties again. In the effects tab check Unlit. This will make the texture not affected by light and will appear full bright. Rebuild again to see it's affect.
Forging Ahead
You now know how to add and subtract :-). Lets put these skills to good use.
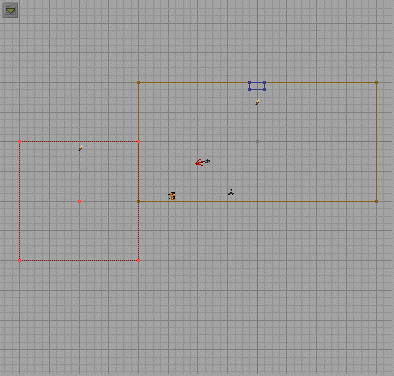
Make a cube (512*512*512) and place it half way down the edge of your map.
Then subtract it to make a small room by the side of your main room. Now click the Stair tool
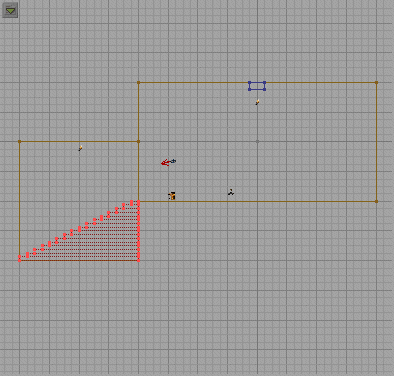
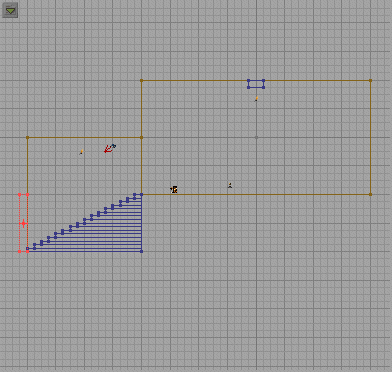
and make a stair of length 32, height 16, a width of 512 with 16 steps. This should create a stair shaped builder brush which will fit directly into the small room you just made.
If the stairs are facing the wrong direction then you'll need to rotate them. To rotate any object in UnrealEd you must always do the same thing: Select the object in one of the 2D views. Then hold control and hold the right mouse button on the object. Then move the mouse left or right. to rotate. The object will rotate around the X Y or Z axis depending on what view you select it in. Once you have the stair in place click Add. Make a light at the top of your new stairway and then rebuild to see your changes.
Make a cube (256*32*192) and place it at the bottom of the stairway.
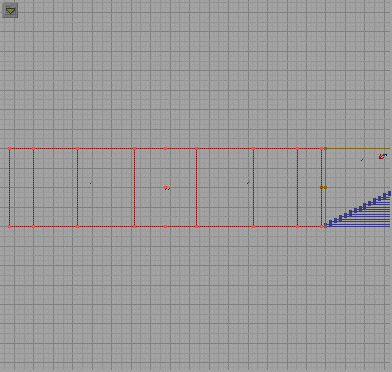
Subtract. Now make a large cylinder
. Height: 512. Inner and outer Radius: 1024. Sides: 16. Place this next to the small cube you just created and subtract.
Add about four lights in your new cylindrical area. Rebuild and check it out. Now there's one more thing.
Deintersection
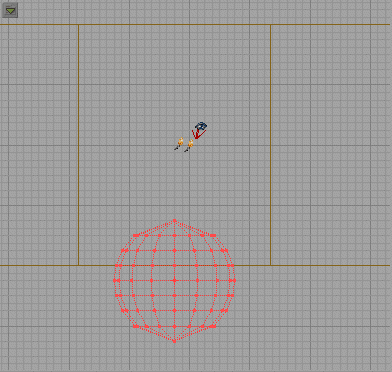
Deintersection is a more advanced technique, but is still pretty simple. You use to to cut a brush when part of is outside the map. Make a spherewith an outer and inner radius of 128, 16 radial sides and 8 vertical stripes. Do not try to make spheres with more than 30 radial sides and no more than 8 vertical stripes. Sphere eat up processor power like hell anyway so you should have no need for more than 16 radial sides. Place the sphere in the centre of the cylindrical room so that only the top part is showing.
Now press the deintersect button
. This should chop the part which will be bellow floor level. Now select a stone texture or something and press Add.
Ok I think you know enough now to do your own basic levels. While reading the other tutorials I would use the map you created here to test things out. Then when you think you're ready you can make your own level.
