 |
|
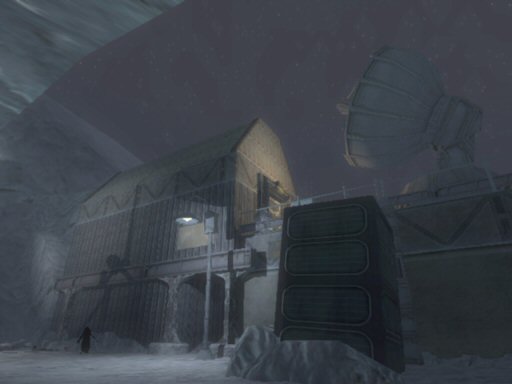
It's VersaLife Jim, But
Not As We Know It! When you emerge from the Sanctuary all is well. Until... Secondary Goal: Talk to Saman Getting to Tent 04 is complicated now. Five armored Templars are patrolling the area. At least one will be facing the tunnel you emerge from. You will have to fight them, or at least find a way to distract them. The good news is that should you defeat one of them you will be able to pick up a rocket launcher. This is a tough section. Once the area is cleared it gets easy again. A few ideas to try:
Enter Tent 04 and talk with Saman. Exit and leave out the tunnel on the west end of the shelf. Time to conserve ammo. Pull out the riot baton and let the beatings begin. Club the guard directly in front. He'll be heading from your right towards your left. Primary Goal: Return to Cairo: Turn on Power
Climb the tall nearby crate and hop from it over to the pilot beacon. Crouch down and crawl into the cabin taking the multitool as you enter. Head to the back and hack the Security Terminal. If you can't, mag rail the nasty turret that sits outside. You can see it from the window. Clean the office of its junk (in a chest you'll find food, an energy cell, and two ammo clips). Leave and go down the stairs to the west. Take down the next guard. Continue southwest around the corner. Watch for the next guard. His patrols take him in and out of the building on your right. If you don't see him you can either wait or go ahead and enter. You'll still have to deal with him when he enters from the door on the north end. As you turn the corner you have three doors and some lockers to look at. The two rooms that are locked can be accessed through the vent system but to get into the vents you have to brave greasel territory upstairs.
Go ahead and run down to the end of the hall, take the corner, and climb the stairs. Only two greasels to handle up there. You'll find a multitool and medkit along with the goods dropped by the Templar. Use the vents to reach the locked rooms. One room has a locked chest containing a fragmentary round mod. The other room has 50 credits on the desk and some stuff in the closet (two phosphorous flares, an ammo clip, and a medkit). Inside the two lockers you'll find two ammo clips. Take a moment to read the datacube near the lockers. It has maps of the base. The final room isn't locked. Inside you can find 50 credits on the desk and two ammo clips in the closet. Now that this part of the base is secure its time to head out. Go north down the hall, around the corner, and out the door. Make a right under the platform and spin around. On your right is a small rise in the snow. The wall has a sign reading "B Wing". Walk up to the wall and mantle atop it.
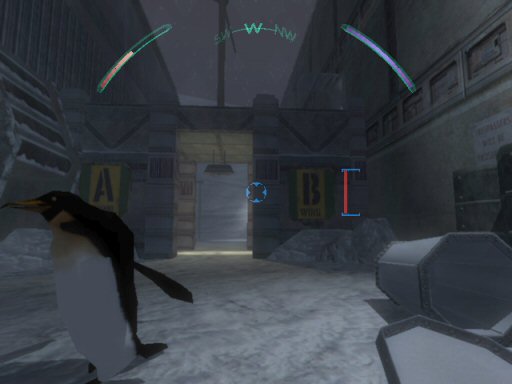
Take the energy cell if you need it and enter the vent heading north. Collect the multitool and exit into the utility closet. Only a medkit, an ammo clip, and two phosphorous flares here. Just outside the door are two greasels in a pool room. Take them down. Head outside across the helipad through the west door. Disable the patrolling guard (or wait and ambush him by the door) Terminate the turret at the end of the stairs. Now that its safe enter the vent under the stairs to reach a small security room. The terminal in here controls the turret so if you're skilled you could have tried ducking under the stairs when the turret was facing away. An ammo clip sits on the desk and some food on the shelves. Return to the greasel pool room and go down the steps. On your right open the door and when the time is right club the guard. Go inside. On your left is a multitool. The lockers have a few things (medkit in one, two concussion grenades and an energy cell in the other). Visit the repair bot. Now, go down the stairs to the base interior.
I'm A Doctor, Jim, Not A
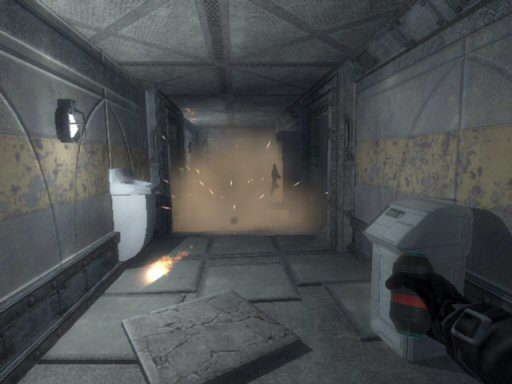
Mortician! This place is a mess. And very creepy. First, dispatch the two greasels down below. Next, open the door to the east. Check the lockers for two ammo clips. Hack the Security Terminal at the back. There are a lot of things that are just better turned off. An energy cell and multitool lay atop the desk. Leave and return to the greasel room. There are so many ways to approach this section its ridiculous. Under the stairs a grate provides access under the floors. You can also hop atop the steam pipes to access a second set of vents. These vents keep you up in the ceilings. When the vents run out, you can still walk across the pipes. This walkthrough will use a direct route to save time. If you have the strength aug and a sword pull it out. Swords make quick non-ammo consuming work of just about everything in this section.
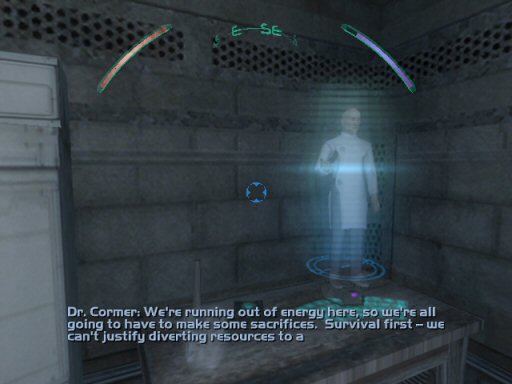
Calmly walk west and enter the storage area. If you need stuff you'll find two multitools, a scrambler prox mine, a concussion prox mine, and a medkit in here. Go back to the greasel room. Stroll north and destabilize the glass. Slay the karkian or if he's wandered into the holding cell, close the door and move on. Check out the datacube by the cell door. Head east around the corner. Destabilize the next window to proceed. Keep going until youl find a "friendly" Templar. He's only friendly until you let him out but its up to you. Enter the long hall but watch the camera on your right. Hide under it, then enter the east door. Snag the multitool from the floor. Retire the two greasels then activate the generators. Its a powerbox between them. Another datacube sits nearby. Secondary Goal: Return to Cairo: Activate Beacon
As you leave the room you can find two energy cells on a shelf, a medkit on another, and a chest of goodness (two concussion grenades and a refire rate mod). Now, you can either retread the path you followed here or continue west for a few more items. A karkian may still be patrolling the hall so look out for him. About halfway down the hall make a right. Climb the ladder and spin around to find a bonus chest (two ammo clips, concussion grenade, and a glass destabilizer mod). Behind a nearby door you'll find a greasel, a medbot, two energy cells and two ammo clips. The locked chest contains two medkits. Leave. If you continue west/south you'll eventually come back around to the entrance. However, a few Templar have decided to visit. With luck, the local population and some of the security systems will have taken care of them. If you're interested in a black market biomod drop through the big hole in the floor. Head north and look on your right. Return to the stairs and get out. Once topside, go activate the pilot beacon then leave from the helipad for Cairo.
Conspiratorial nod to: Joshua for black market acquisitions |
||||||||||||||