 |
|
If The Templar Are Pure,
I Must Be Dirty Secondary Goal: Save Klara Crouch and wait for the guard to pass. Now go get 'em. Go UP the ramp and mag rail the Armored Templar on your right. From up here you can easily mag rail the turret and the Armored Templar below. An ammo clip lays behind the two overturned couches. An ATM is at hand though cash at this point is ... well, pointless. Sneak west. Disable the two guards in the SSC Guard Station and collect the goods. (two ammo clips on the desk, an ammo clip, increased range mod and ammo scavenger mod in the locker, finally an increased damage mod under the bunk in the holding cell.)
At this point you could leave and enter Air Arcology or explore a bit more. Make sure the Armored Templar and turret are disabled down below. Head down the ramp and handle the guards. If they've returned to their positions you'll find two right in front of you talking. Another guard stands in the corner on your left. On your right one guard stands by the ramp to the maintenance area, another at the Templar kiosk, and one more by the entrance to the Tarsus Academy. Start with two guards at by zooming with something in while standing next to the elevator. Each guard you take down may act as bait for the next one. If not, you can zoom from the base of the ramp and handle most of the other guards from long range. Once all the guards are napping raid the QueeQueg's safe (increased range mon, scrambler grenade, and 100 credits). Note: the goal may not mark itself as completed. Talk to NG Resonance. Secondary Goal: NG Resonance: Trapped? Inside the palm tree "forest" is an ammo clip. Continue west and check out the Public Terminal. The Templar Recruiting desk has 100 credits in the safe and an ammo clip on the desk. Take the ramp down to maintenance. Make a left and hop through the opening on your right. Among the remains of the guard you can pickup a few things including the Widowmaker SMG.
Get back to the hall and head east to the end. Chat with the guard. Its like this, Chairman Dumier will have Klara killed if you don't agree with what he wants. Since you'll have a total of three conflicting goals (Dumier's being one) when you reach Air Arcology its better to keep ALL your options available without guilt. Baton the guard then likewise his two friends inside. Talk to Klara, she'll give you a range weapon mod. A nearby locker has two ammo clips. Through the broken wall climb down the ladder. Walk west and look under the rubble for some items (biomod canister, energy cell, ammo clip, emp converter mod). Leave and take the elevator to Air Arcology.
And If I'm Dirty, I Kinda
Like It If you didn't fight the Elite he'll be waiting for you. Have a short talk then go down the ramp. Half way down Saman will have some words with you. Primary Goal: Give Blood
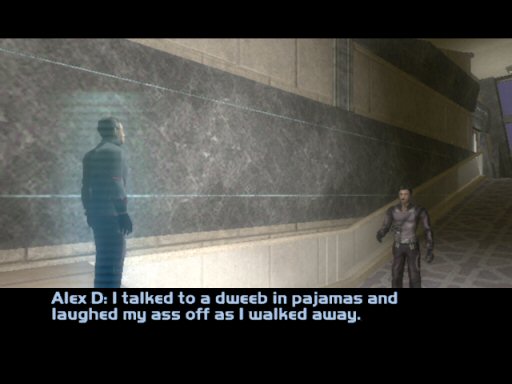
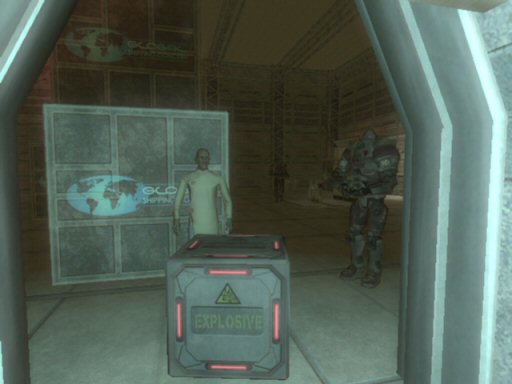
Do NOT shoot the Armored Templar. They are being nice right now. Check the Public Terminal for news. Hacking the ATM isn't worth the trouble but its there for you if you have the urge. Head on back to Bay23. Talk to the three guards. Pick up the two ammo clips from the shelf. Talk to Dr. Nassif (if you didn't killer her) and you'll receive a biomod canister. The repairbot can help replenish your energy (and those of you with the remote drone should just camp here). Talk to the SSC Chief, he's in the northwest corner. Open the door and head in. Talk with the brat. For some added insight, return to the Arcology and talk to the NG Resonance kiosk (and if you kill the brat you do get a different conversation). You could raid the travel trunks for a few things (medkit, ammo clip, two 100 credits). Leave and proceed to Bay24. Before you enter note that you pass a small hallway. On your left you can pick up an ammo clip near the datacube and on your right is a big box of boom near a vent shaft. Now, when you enter Bay24 Dr. Todd will demand blood. Whether he gets the blood or not a fight is going to break out. At this point you have to pick one side to fight for. Here's what you get:
No matter which side you pick the SSC guards in Bay23 will help until they are dead. Lets go with the third option to keep things interesting. Open Bay24 up but do NOT step in. At this point you can go to the end of the hall and fire guided rockets in. You could also leave a present for them. Lay down some prox mines along the hallway. Hide in Bay23 and remote drone your way to victory. Or toss a grenade and run. The key part to many of these ideas is to hide in the vent shaft. Pull out the mag rail and clean up. When you return to Bay24 disable the turret if its activated on your right and don't forget about the military bot. Watch out for the one guard patrolling above, again on your right. If the assigned Elite Trooper survived you might want to leave a few prox mines by the entrance of Bay24 as he will come in to complete the Illuminati's objectives. Stay clear when the Elite die. Don't allow any of them to die near Paul as the gas they emit can hurt him.
Now, go revive Paul. After he's awake keep talking to him for more info. Clear out Bay24 by claiming the two ammo clips and multitool from behind the machine on the west end. Climb up the ladder in the northeast corner. Paul's goodies are up here (two biomod canisters, two ammo clips, an energy sword, and a glass destabilizer mod). Leave Bay24 and turn left. Use the vent to get to the ladder and climb up. Take out the Elite Commando if he's there (siding with the Illuminati will cause him not to appear). Look north for a desk with two medkits. Where the Holocomm Unit sits are two spiderbombs in a locked cabinet. Now, before using the beacon you might want to go back through Cairo collecting whatever you need. Once you have everything use the beacon to depart. |
||||||||||