 |
|
Neither Trier Nor There
Time to start working. Talk with the guy standing nearby to get some info. Read the datacube on the bench for a map. Check out the Public Terminal for more. Primary Goal: Find Tracer Tong Talk with the two guards to the northeast for a bit. Enter the SSC HQ through the double-doors to the west. Talk with everyone, especially Vera Maxwell. Primary Goal: Talk to Chairman Dumier
Follow Vera to her office. Clean up her desk by taking the multitool, ammo clip and energy cell from it. Leave her office and cross the hall to the stairs (we'll tackle the evidence room later). Look under the stairs for a multitool and 100 credits. Climb the stairs and check out the holding cells on your left. Talk with the tech. Nab the multitool and emp grenade from the table. Leave and talk with the two guards at the end of the hall. Enter the nearby observation room and listen to Dumier chat with the Order Seeker. As he suggests, proceed to the other observation room and chat. He'll give you a biomod canister. Leave SSC HQ and return to the streets. Hang a left and leave the square out the northwest corner. Make a right and listen to the Panzerwerks techs. Hack the nearby atm for cash (just stand under the camera when you do). Don't bother sewer trolling, yet. Enter QueeQueg's coffee shop near where you found the two techs talking.
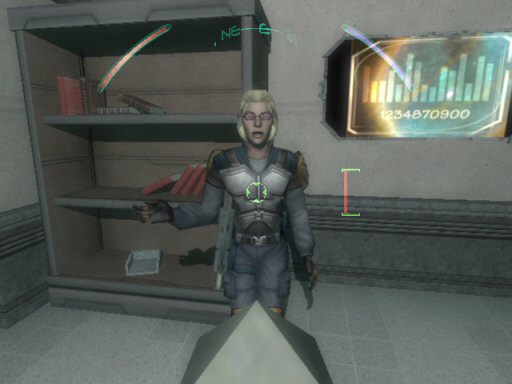
Its A Coffee Shop - Of The Future! Listen to the two chatter boxes at the table. Talk with the Store Manager. Secondary Goal: Coffee Wars: Investigate Lawsuit Look behind him for a bunch of food stuffs and a softkey (behind a bag of coffee). Talk with NG Resonance. Tell her what you want. Now talk with the lone guy standing nearby, its David Kurczec. Secondary Goal: Meet Omar Feel the need for a bit more? Enter the door near Mr. Kurczec. Disable the greasel. Raid the safe for a spiderbomb, energy cell, two 100 credits, and a glass destabilizer mod. Check the desk for100 credits, and an ammo clip. Leave the coffee shop.
Leave heading south and make a right. Climb the ladder of the helipad. Snag the energy cell and multitool two-pak in the corner. Climb back down. Continue south and go past the Nine Worlds Tavern. When you see the weapon shop use a glass destabilized weapon to raid it. Inside, besides the weapons, are two ammo clips, an increased range mod, and an increased damage mod. Continue southeast until you find the two Panzerwerks techs arguing with the Seeker. Talk with a Tech before the bullets start flying. Handle it however you wish. Now head back to the Nine Worlds Tavern and listen to the two Order Seekers standing outside the door. Talk with them. Enter the tavern.
Nine Worlds Tavern - Order Now,
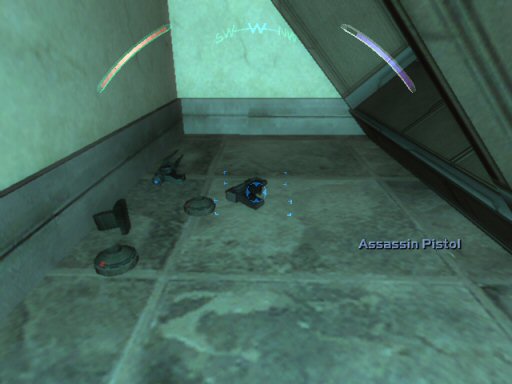
Get Tenth World Free After you get past the guard catch up on the latest news at the Public Terminal. Go upstairs and talk to the Omar Trader. Lots of goodies to choose from including five multitools and a black market biomod. Push the boxes aside in the southwest corner. Underneath the bookcase you'll find an energy cell, two concussion prox mines, an ammo clip, and an assassin pistol.
Read some of the books laying around. Go downstairs. Enter the first door you see and speak with Ava (if she's your pilot) and Tracer Tong. He'll give you a biomod canister. Primary Goal: Black Gate: Find Lab Entrance Take the energy cell from the table and leave out the other door. Turn right and examine the next two doors. The last one on the right is the bathroom. A multitool and medkit can be found inside. The other is an office. On the desk are four 100 credits and a medkit. Atop the bookshelf is an ammo clip. Leave and enter the bar area. Talk with everyone. Hey, Sid's here. Listen to the two people in the back corner. Leave the bar. Secondary Goal: Talk to Chairman Dumier Go ahead and return to the SSC HQ. This time, enter the Evidence room, its the door next to the stairwell. Just as you enter you'll find a Security Computer on your right. Hack it. Destabilize the window and hop in. Lots of stuff to collect (two energy cells, three ammo clips, two flashbombs, two scrambler prox mines, a black market biomod canister). Most of all, read the datacube near the lockers. Secondary Goal: Coffee Wars: Collect Reward Leave and head upstairs to talk with Dumier. Return to QueeQuegs and chat with the manager for your reward.
Trier And Loathing Two routes can be used to enter south Trier. The obvious one being located between the two guards across from the SSC HQ. The semi-obvious one is the sewer grate found by the ATM near QueeQuegs. Both routes have their pluses and minuses. Though the sewer route does give you a slightly better position you'll have to fight your way past several greasels. While down there you can also pick up two multitools. Further on you'll find a scrambler prox mine, emp prox mine, spiderbomb, 100 credits, and an ammo clip. Keep going until you climb out the other end.
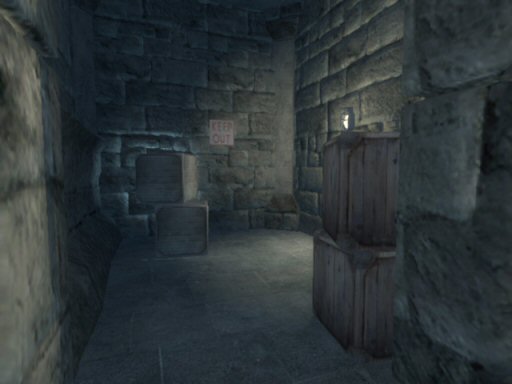
Once topside your first issue is to deal with the military grade butt-kicker. Staying behind the large box is suggested. Once he's down you'll have two guards to the north and one to the west to handle. In the dumpster on the east end you'll find a multitool. Next you need you get upstairs. Head north and consider your east and west options. East requires you to sneak past a camera and climb a ladder but it puts you next to two templars. The ammo clip near the ladder just doesn't cut it. West you can club a guard. Look under the stairs for 50 credits and a multitool. Climb the stairs. Head east and watch the guard patrolling the cross beam. Take him out in case he catches what needs to happen next. On the east end are two guards. There is also a door you can enter. In this room, behind the two crates on your right is the entrance to the Black Gate facility. You can either sneak in or handle the guards with some kind of grenade. Nearby you can claim two ammo clips from atop the box. Finally, climb the stairs where the two guards were to reach the top. Handle the one guard and enter the room on the west end. Inside you'll find a multitool and an energy cell. If you bought the black market biomod from the Omar this is where you'll find it. Head back down and take the elevator to the Black Gate facility. Don't forget the two energy cells, they sit atop a box near the elevator. |
|||||||||||