 |
|
Black Gate Labs Are Great
Dogs That... Oh, Nevermind First, wait for the patrolling guard to turn his back. Leave the elevator, club him, and pull his body back. Destabilize the window across from the elevator and enter the room. Collect up the goods (emp grenade and ammo clip). Read the datacube and hack the Security Computer. Open the vent grate and crawl on to the maintenance room. Clean the shelves out (three ammo clips, an energy cell, multitool, food, and 25 credits). Climb the ladder and take down the two guards patrolling above. Then sneak northeast and make a left (after you pass the Gate Reactor) to handle the 3rd guard. OR, hop into the other vent and try handling both guards from the other end. Either way go past the Gate Reactor and dispose of the 3rd guard. (If you have a moment, you can enter the Black Gate room, there is a multitool on the floor.) Head north down the hall and open up Tracer Tong's room. Inside you'll find some things on his desk (energy blade, multitool). Read the datacube for the Black Gate password. Check shelf behind the desk for 100 credits. The locked cabinet has three biomod canisters and a spiderbomb but it will take three multitools or one grenade to open it. Don't throw any grenades just yet there is one more guard to handle. Return to the hall heading north and climb the stairs to Gate Control. Open the door and disable the guard. You can also access the Gate Control room from a vent directly across from the stairs that lead to it. In the southwest corner of the Gate Control room is a Security Computer. In the northwest corner is a medkit. Now that everything is all nice and tidy its time to rescue some prisoners.
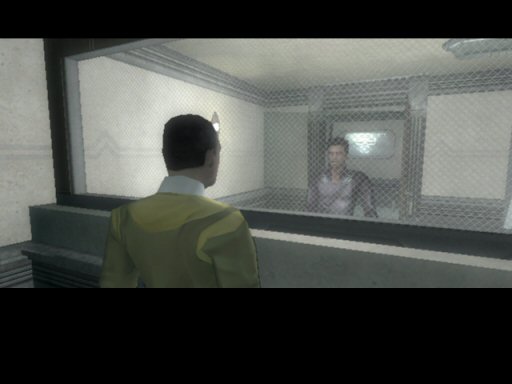
Take a south or southwest course to cross to the opposite end of the lab. When you see signs that say Containment you're heading in the right direction. Disable the beams and enter. Walk past the captives to trigger the conversation. After Dumier talks to you the elite trooper will appear. Primary Goal: Templar Compound: Hire Pilot Talk to him then enter the cell to talk some more with everyone. (If you block the elite's line of sight with someone else's body, say the person you are speaking with, he won't interrupt the conversation) Nearby is another occupied cell. Consider talking with the prisoner. Leave the laboratory and return to the streets of Trier.
First check in at SSC HQ for the map. Report to the bar and speak with Tong again. Now get yourself a pilot. Leave the bar and go to the helipad. Its atop the ladder between QueeQuegs and the Nine Worlds Tavern.
Templar Compound - Rub Into Infected
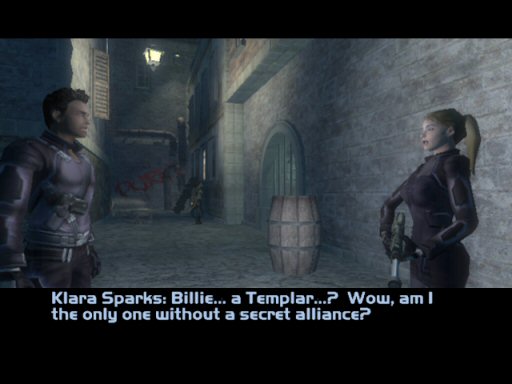
Areas As Needed Talk to Crazy Wendy. Ain't she fun? Primary Goal: Templar Compound: Enter Base Check the nearby dumpster for a mulitool and medkit then proceed north. Watch out for the Templar on your left as you turn the corner. Talk to Billy. Head north down the alley scooping up the multitool along the way. A medkit lies in the dumpster. Hop over the railing and disable the turret. Climb atop the boxes and take out the two guards. Silently handle the patrolling one first using the barrels for cover. Once both are disabled take care of their friend patrolling below you. Check the chest for two black market biomod canisters and an ammo clip. Hop over the railing. Open the grate and take a sewer dive. Make sure you disable the bot before he opens fire. Sneak south until you see the security beams on your right. Knock out the one guard on patrol, disable the beams and enter. (Or disable the beams then the guard, whatever works.) Sneak west and take the three multitools you'll find on your left in various areas. Guard number two patrols the hall at the end. Guard number three is to the north. Take care of him then clear out the six lockers for a wealth of goodies (four ammo clips, refire rate mod, noisemaker grenade, spiderbomb, medkit, and an energy cell). Inside the locked chest is an emp grenade and concussion grenade. Don't use the elevator to the north. You could but I found it oddly easier to use the front entrance when entering the Templar Church. Run all the way back and out of the sewers. Enter the door in the northwest corner.
State Your Sins At The Sound
Of The Tone First, take out the bot. Next, head west and dispose the guard. Disable the power panel and you'll be able to access the repair bot. On this side of the church you'll notice three windows. One is broken. Hop up and enter. Primary Goal: Templar Compound: Get Module
Climb the stairs to the top. Crouch before crossing the balcony. In the chest you'll find an increased range mod, an ammo scavenger mod and an ammo clip. Don't leave yet. From atop the balcony you'll have a clean shot at the three guards patrolling down below. But before you shoot anyone take out the turret first. Once the room is clear hop over the railing, or if that's to dangerous go to the bottom of the stairs and open the door with a multitool or grenade. Underneath the stairs you'll find an energy cell. Go to the west end of the church. Close the door on your left so the camera doesn't see you. A multitool lies inside on a crate but not much else aside from the elevator we skipped back on the previous level. Check the Holocomm Unit for a message and read the datacube next to it. Open the door to the north and access the Security Terminal to obtain the missing module. Primary Goal: Return to Trier Before leaving for Trier look around the office. A medkit is housed safely in the chest. Atop the desk you'll find an ammo clip and 100 credits. Also, some creepy messages can be viewed there. Do as Dumier suggests and go all the way back to where you began (near Crazy Wendy). Talk with Klara. Fly back to Trier. Primary Goal: Black Gate: Repair
Talk to Lin-May Chen, she's waiting outside the SSC HQ. Visit the bar one more time and talk with Tracer Tong. Return to the Black Gate Ruins. You'll encounter some resistance but SSC is on your side so let them handle it. Go back to the Black Gate Lab and head towards the Gate Control Room. Primary Goal: Black Gate: Restore Power But, instead of climbing the stairs climb the ladder to the east by the maintenance sign. Multitool the generator box on your right to disable the faulty generator. Head on to the back and activate the backup generator. Primary Goal: Black Gate: Load Module Along the way you can visit the repair bot. Should you want to conserve your multitools an alternate route can be found via a vent shaft. The opening is on your left, opposite the power box that you use to disable the main generator. Before you leave the backup gen look behind the toxic barrels for a datacube. It has the security beam disable code. Go back down the ladder and up the stairs. Access the Security Computer on the southwest end to active the gate. Primary Goal: Black Gate: Step Into Gate Now, go downstairs and enter the "gate". Its as simple as that.
|
|||||||||||


